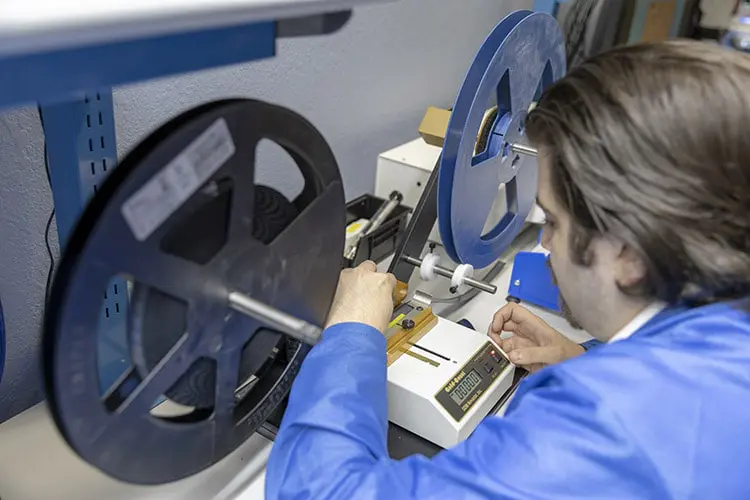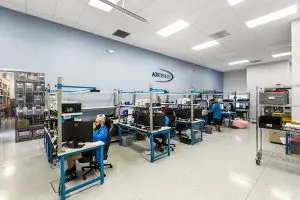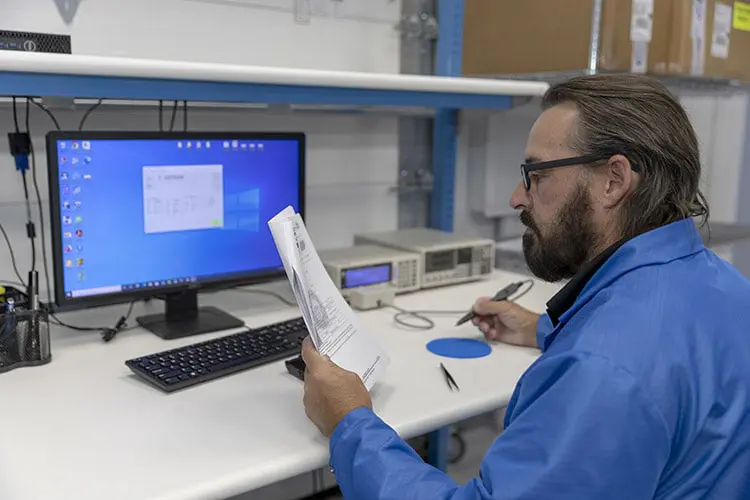
In Ultra Modern Electronic Manufacturing Factory Design Engineer in Sterile Coverall Holds Microchip with Gloves and Examines it.

Rigorously Tested Components for Quality and Reliability

Strong Brands In-Stock
AMD_Logo
Amphenol logo, 2021
AsahiKASEI_logo
AVX_Corporation_Logo
Bosch-Logo
Broadcom_Ltd_Logo
Diodes_Incorporated_wordmark
generated by pstoedit version_3.44 from NVBadge_2D
Infineon Technologies AG logo
Intel_logo_(2020,_light_blue)
Intersil_logo
KEMET_Corporation_wordmark
Lattice_Semiconductor_logo
Microchip_logo
Micron_Technology_logo
Molex-Logo
Murata_Manufacturing_logo
NXP-Logo
Onsemi_logo_2021
Realtek_logotype
Renesas_Electronics_logo
ROHM
Samsung_wordmark
STM
Taiyo_Yuden
1TDK-Logo
TE
Vishay_Logo
Winbond_Electronics_logo
Xilinx logo
2327.TW_BIG
Three Tier

Quality Control System

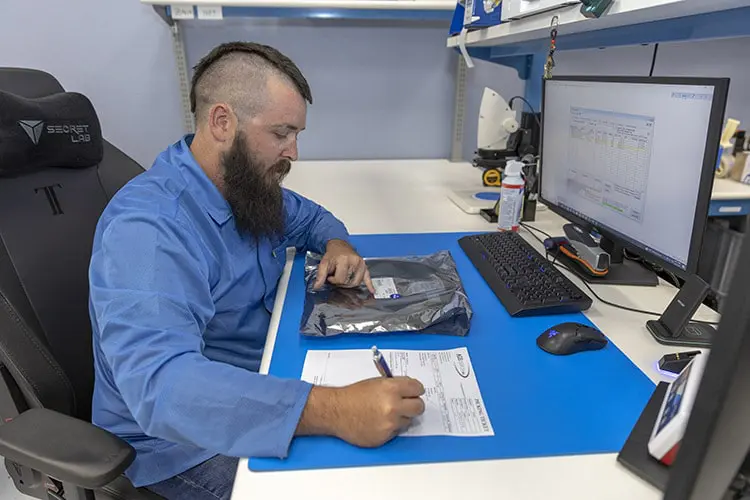
Incoming Receiving Inspection

Begins as soon as the material arrives at AGS and revolves around packaging, documentation, and order verification.

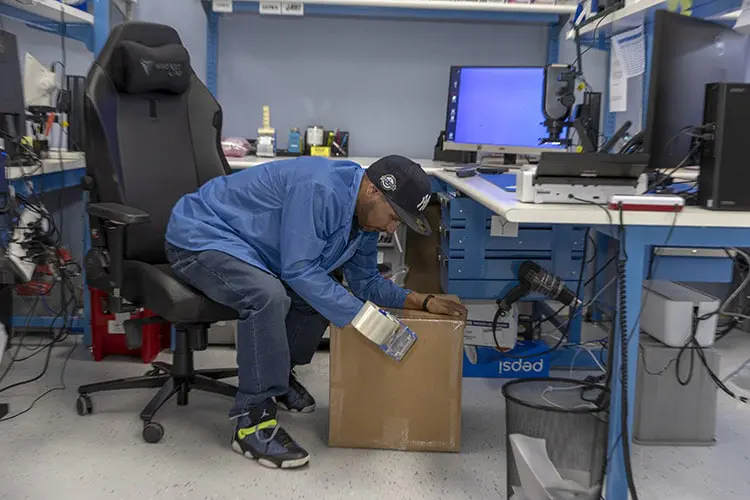
All packaging, including both outer cartons as well as individual material packaging such as reels, tubes, trays, or other methods, are analyzed for any potential damage or compromises that could affect usability of the material.

Incoming document verification is used to confirm material is accurate and quantities match manufacturers documentation, date codes, lot numbers, certificates, and any other requirements deemed necessary to meet customer expectations.

Our Testing Process

Putting Your Success First with Rigorous Testing and State-of-the-Art Equipment

42456+00000000405437-1

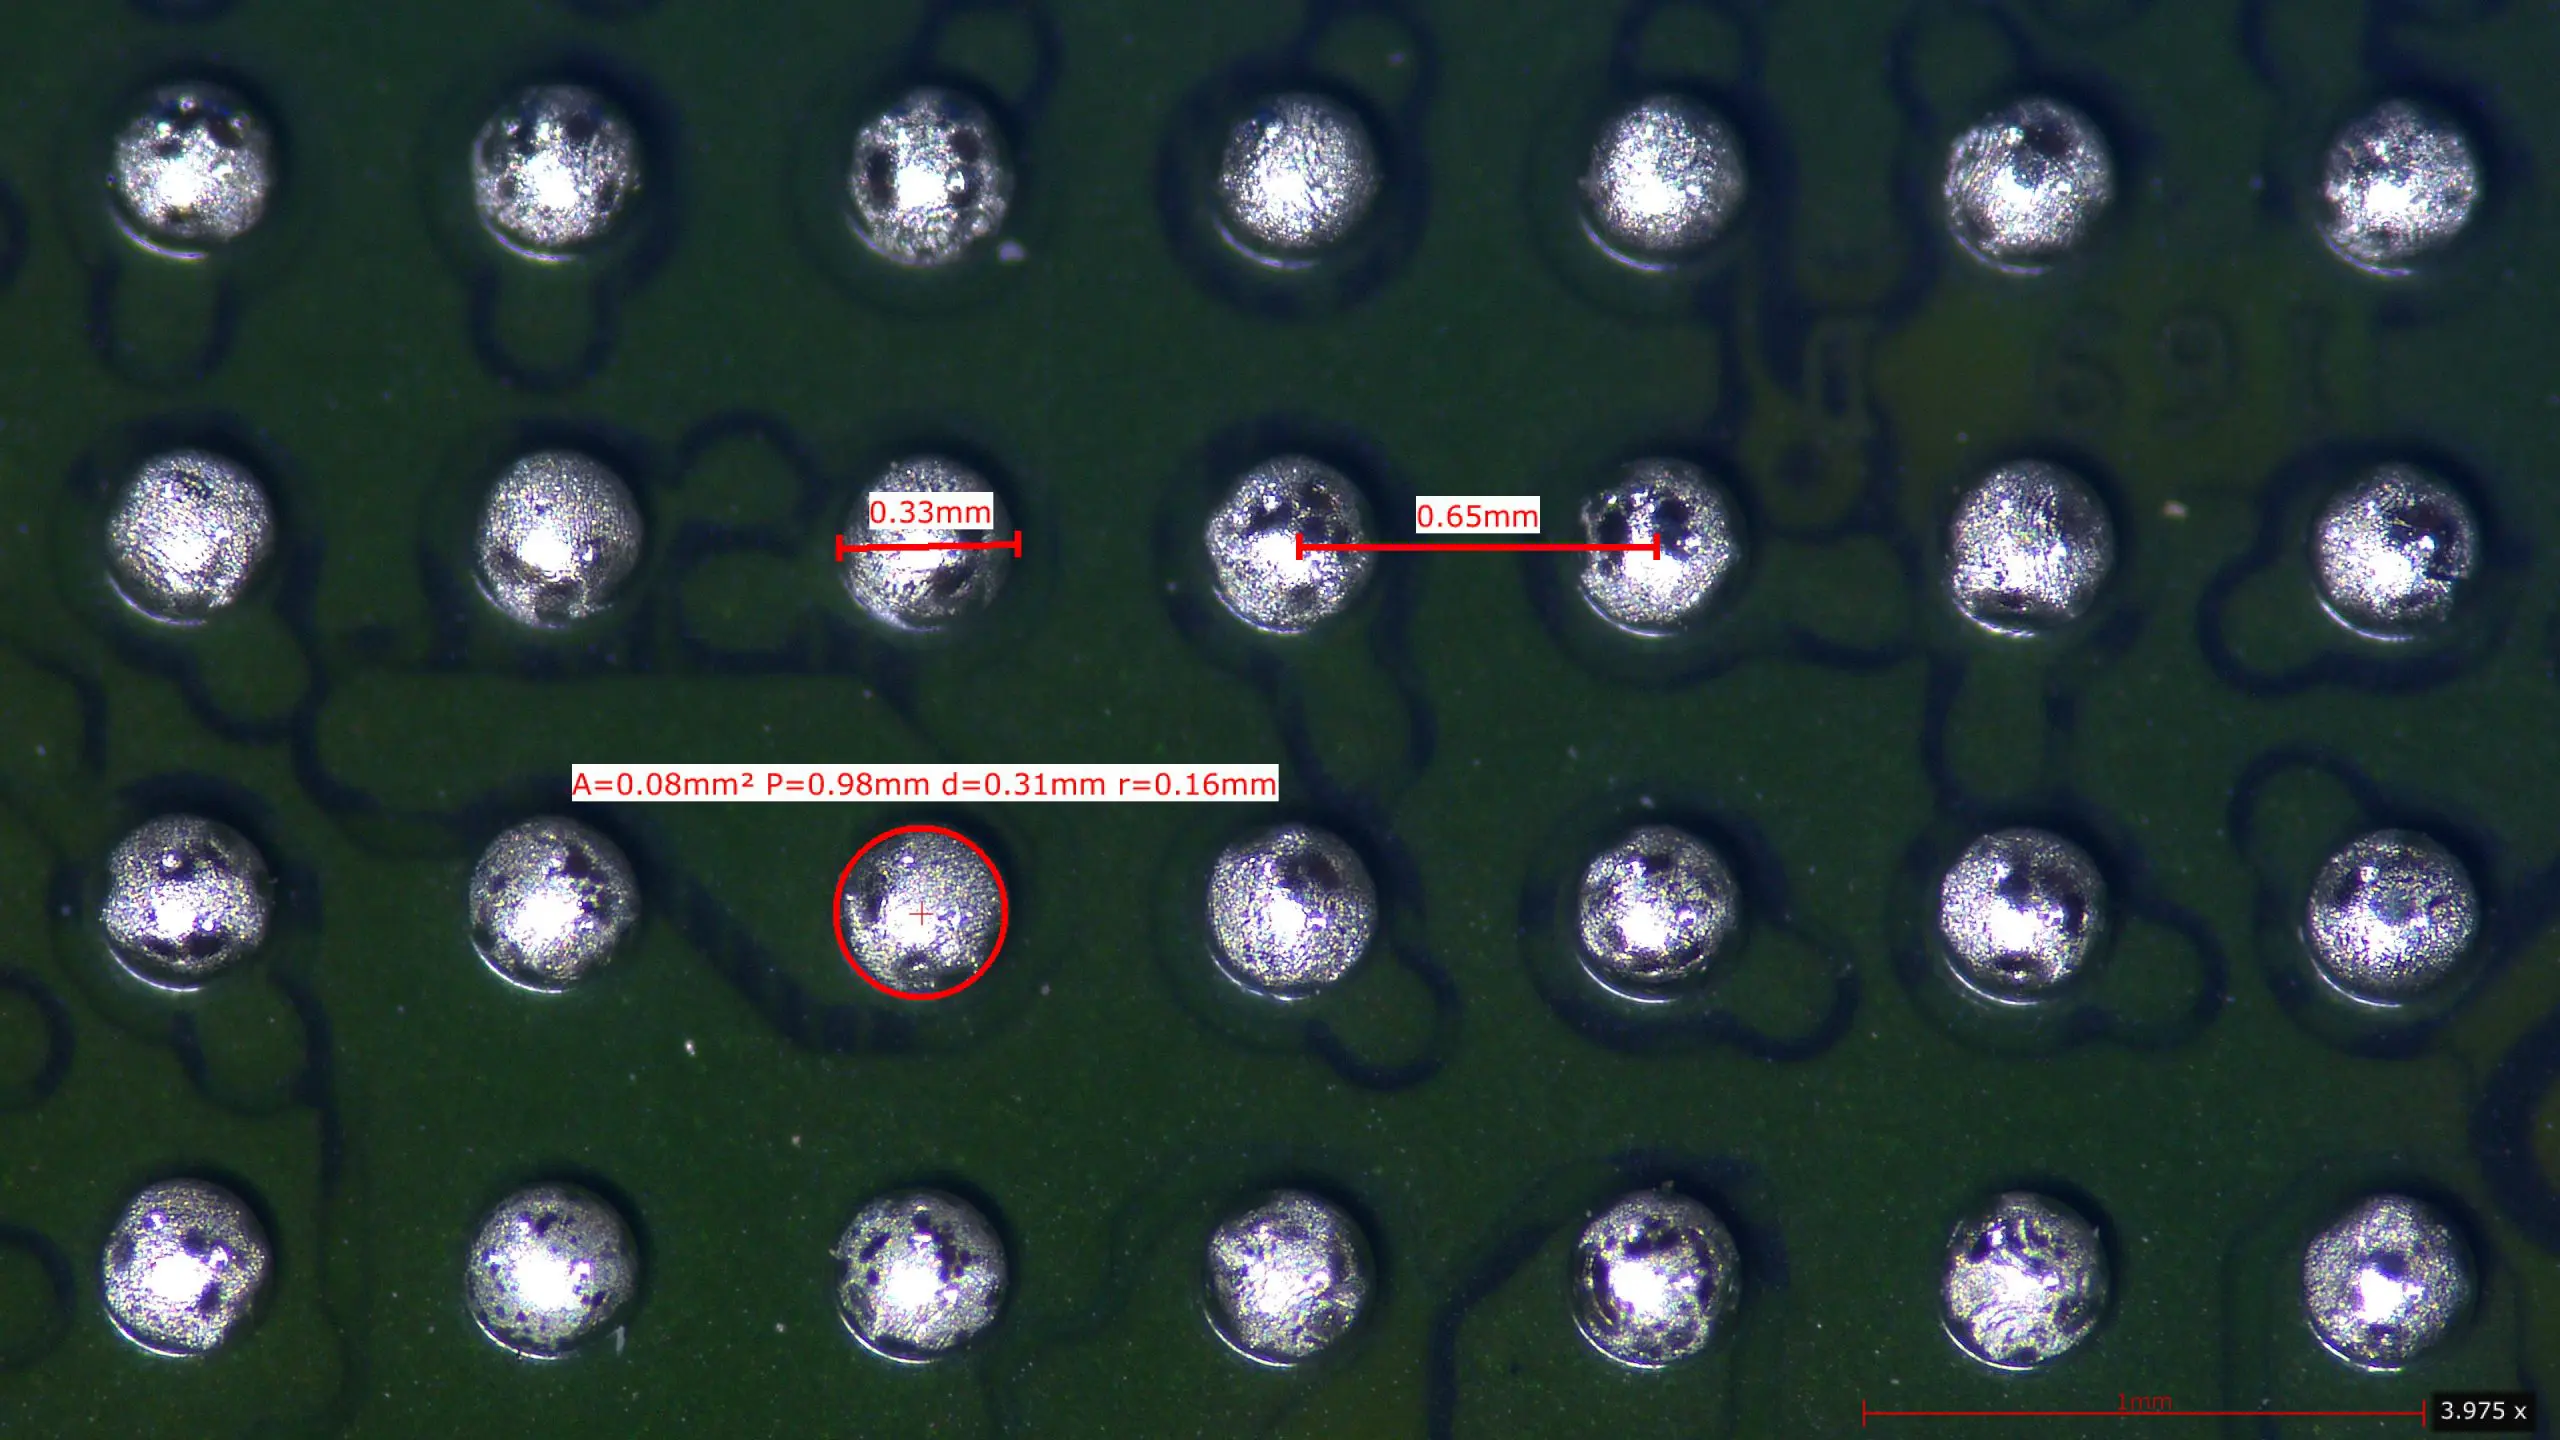
Mechanical Testing

Measurement of components and materials using both physical calipers as well as digital measurement tools built into our microscopes.
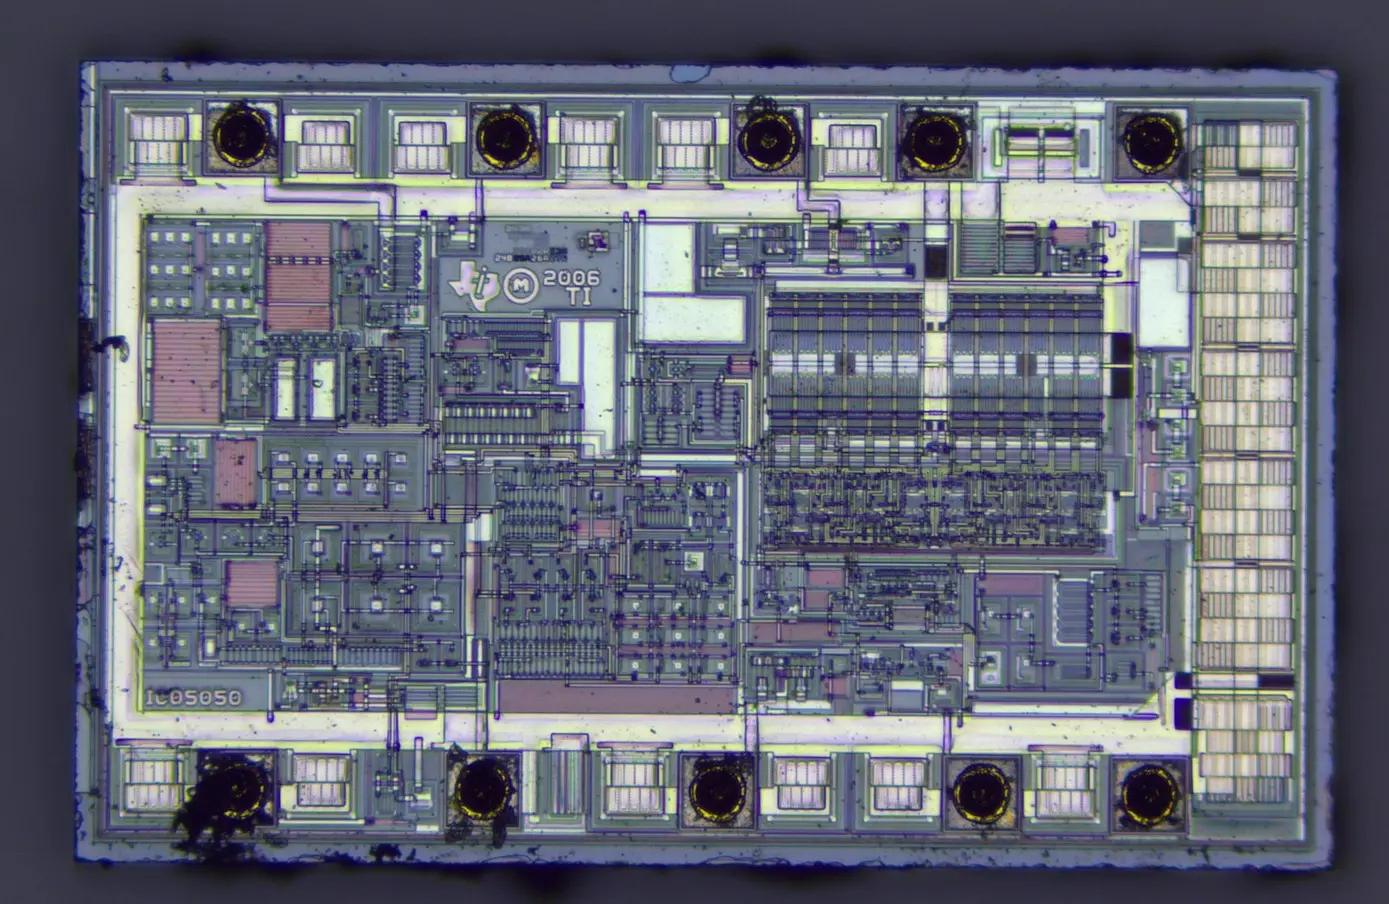
Decap Picture

Acid Decapsulation

By using pressurized nitric and sulfuric acid, AGS can swiftly remove the top layers of components exposing internal die and wire bonds so that they may be analyzed via high-powered microscopy.
27260+00000000237039-1

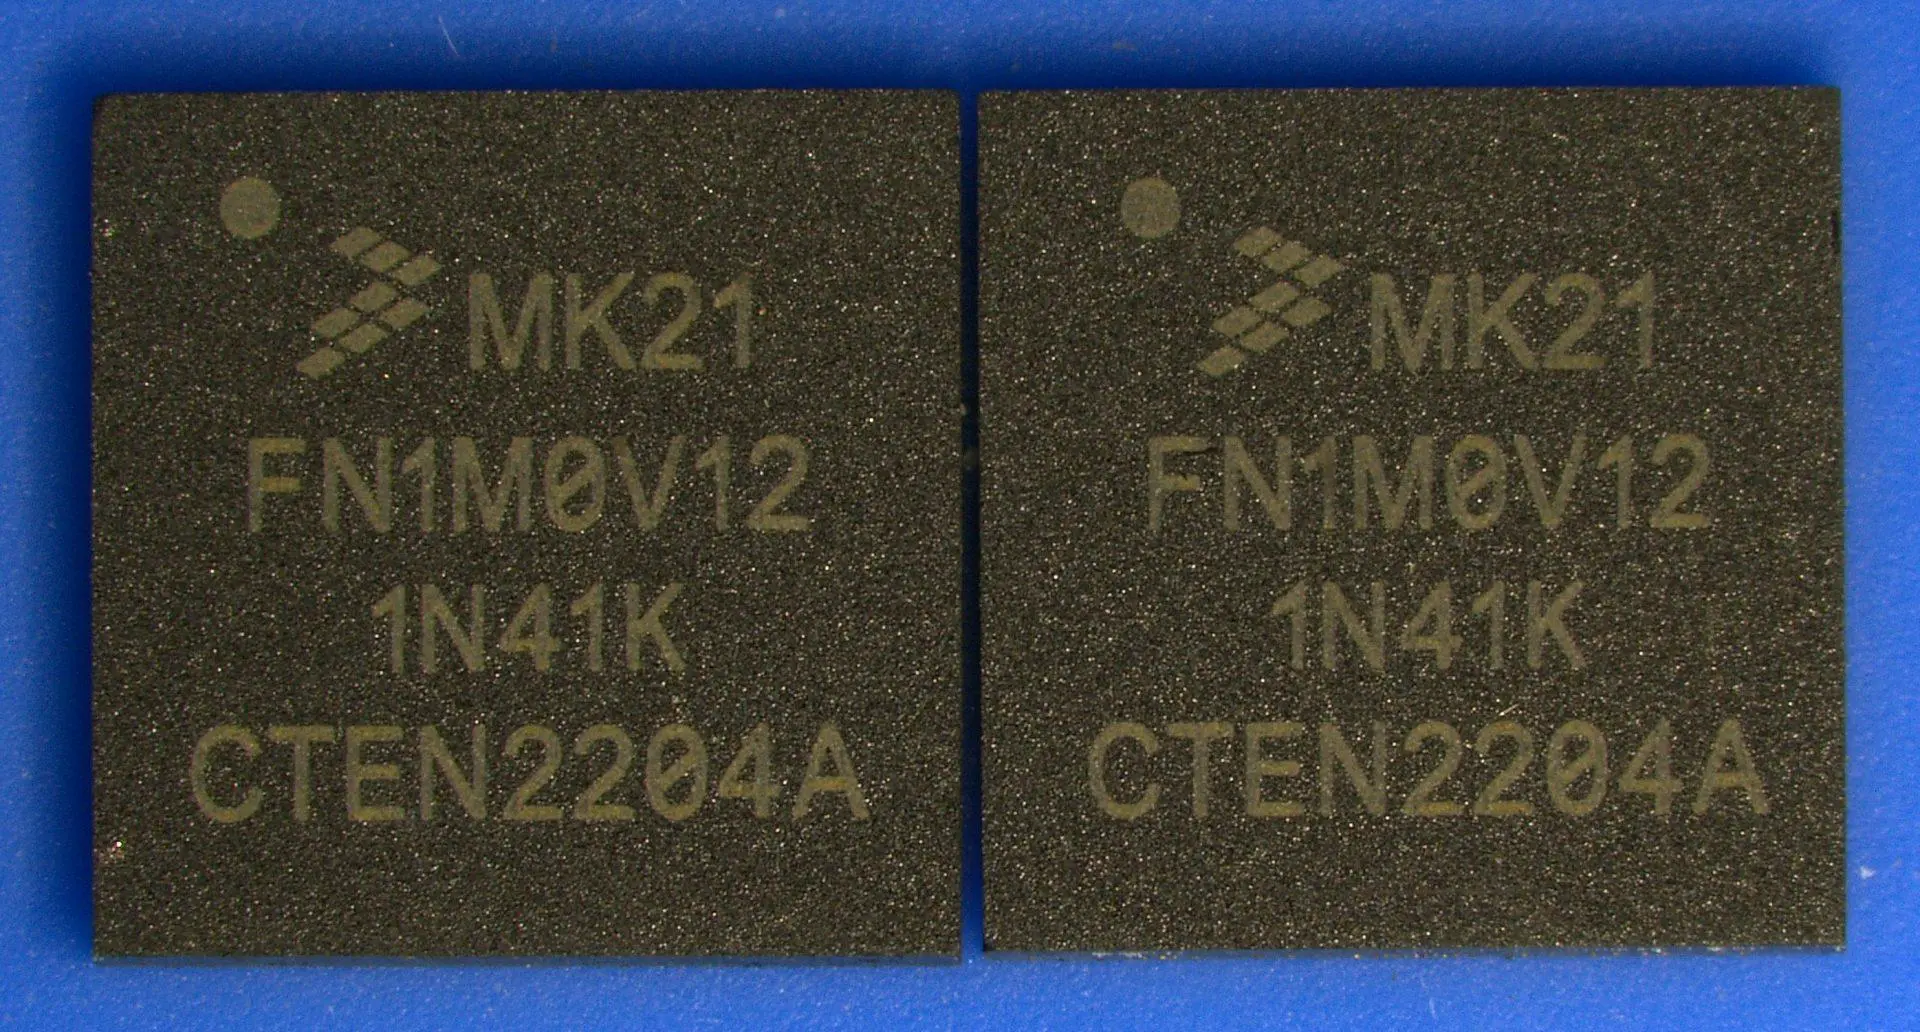
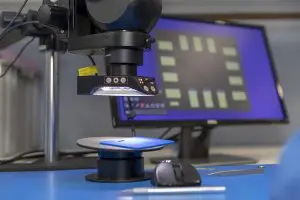
Digital Microscopy

Using powerful, modern Leica digital microscopes, AGS confirms all electronic components for visual conformity to manufacturer specifications with up to 113x zoom.
Xray Pic 2

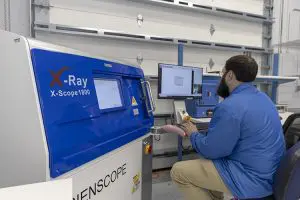
X-Ray Analysis

Through our X-Ray system, we can confirm internal die presence, consistency between samples, proper wire bond presence and layout, as well as damage that cannot be seen through regular microscopy.
LCR resize 2

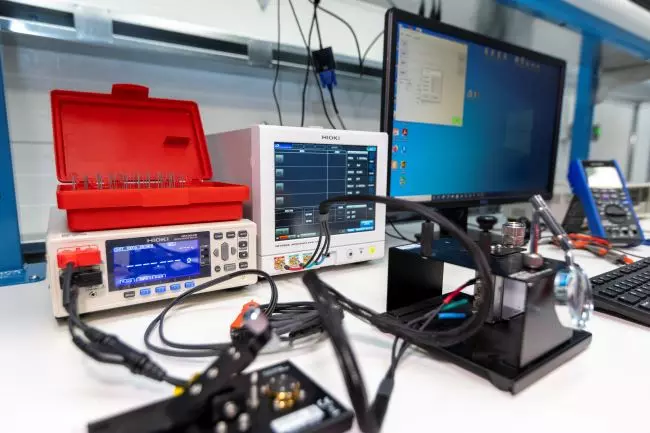
LCR Testing

Using a combination of Impendence Analyzers, Capacitance & Resistance Meters, LCR testers, and Smart Tweezers, AGS is able to verify inductance (L), capacitance (C), and resistance (R) of passive components.
0Z7A8292 – resize

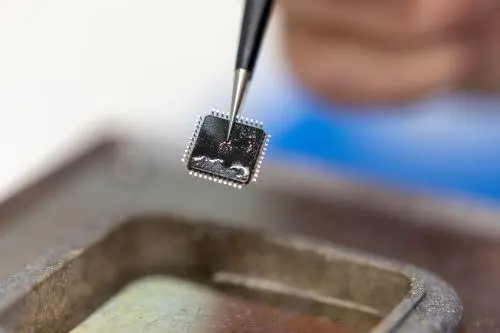
Solderability

By implementing a proper dip-and-look testing method, AGS can quickly test for correct solder wetting performance and determine if any abnormalities of leads do not compromise usage of components.
We are Following Globally Recognized Standards

Global Quality Management System Certifications – Protocols – Memberships

We are certified to these standards, but we also reference other standards & protocols to ensure that our products and services are maintained to the highest quality.

icon

AS 9120:2016 Rev B

Quality Management System – Requirements for Aviation, Space, and Defense Distributors

icon

ISO 14001

Environmental Management System

COMING SOON

icon
Base Protocol for our QC Process

IDEA-STD-1010-B

Acceptability of Electronic Components Distributed in the Open Market


icon
Supporting QC Protocol

IPC-A-610D

Acceptability of Electronic Assemblies

icon

ITAR

International Traffic in Arms Regulations